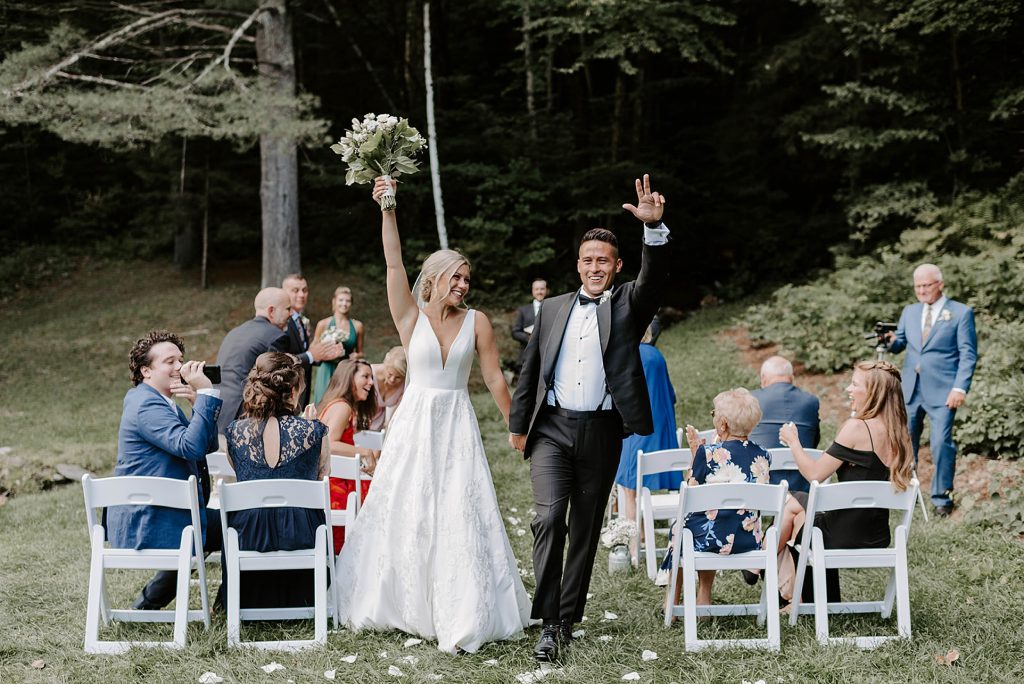
Struggling to figure out how to lay out your wedding day? It’s suuuuper hard and overwhelming if you’ve never planned a wedding before + especially if you don’t have a planner/coordinator helping you out. That’s why I’m giving you my top 3 wedding day timeline tips to ensure a super smooth day:
- Work backward from sunset
- Do a first look
- Build in extra buffer time
Let’s get into the deets!
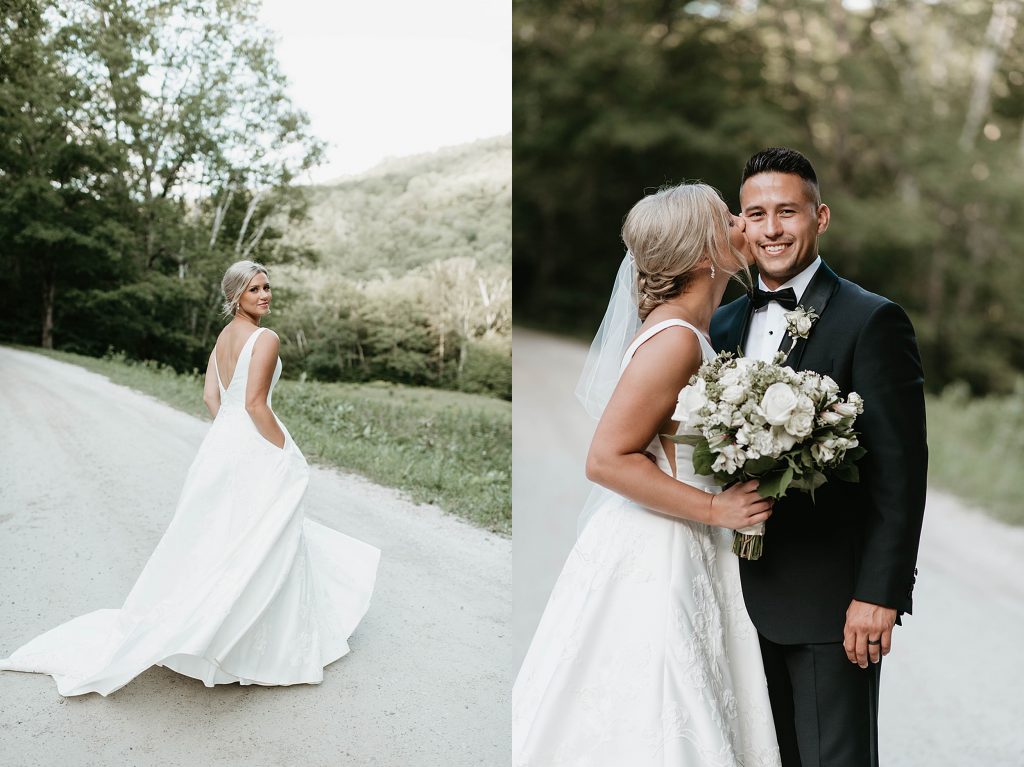
My Top 3 Wedding Timeline Tips
1. Work backward from sunset
The most helpful thing to do when creating your wedding timeline is to work backward! Write down any parts of the day that have to be done at a specific time, e.g. if your ceremony is already scheduled for 3:30, you know dinner will be served promptly at 6:00, and sunset is at 7:15 that day at your wedding location. If you don’t have any specific times planned yet, only write down the time of sunset.
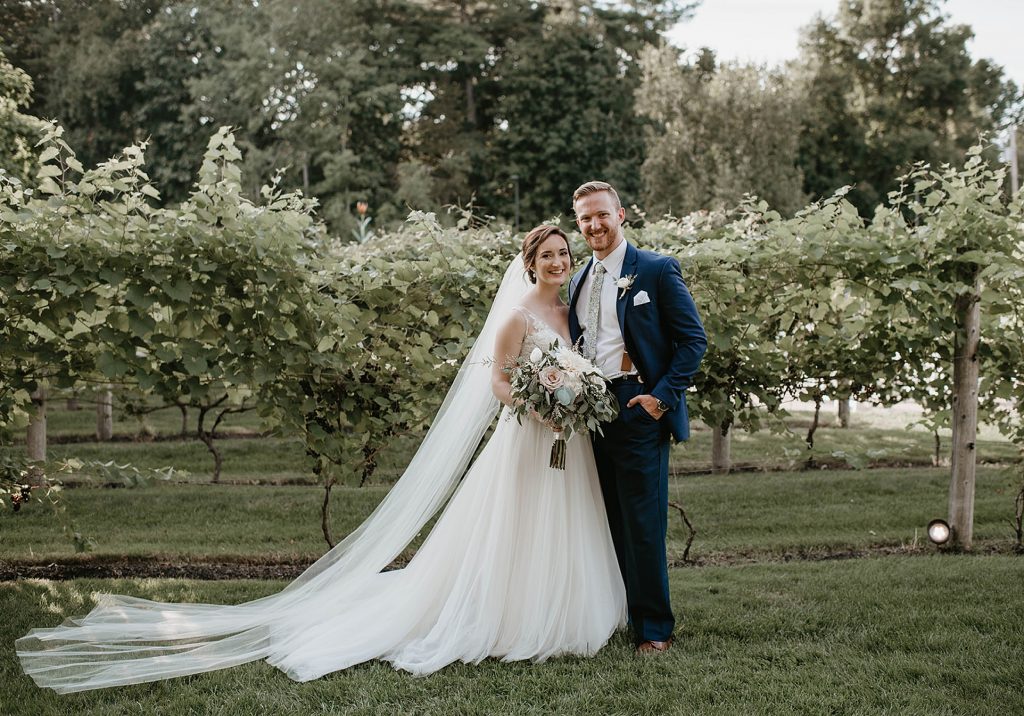
Work backward from that sunset time! Here’s an example of what your thought process might look like when working on your wedding timeline if sunset is at, say, 7:15:
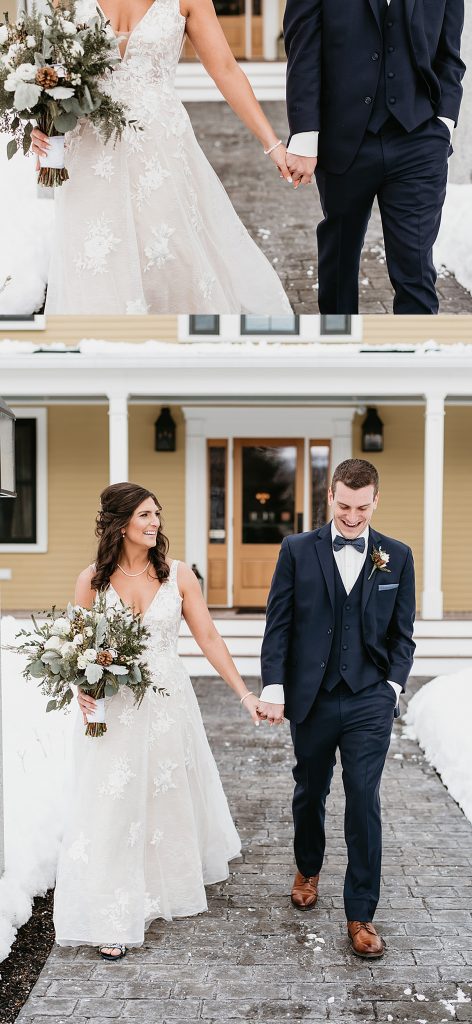
- Sunset is at 7:15, and Sam suggested we do sunset couples portraits one hour before that. Sunset portraits will be from 6:15-6:45.
- I want dinner to be an hour long for my guests to relax + take their time. We can do sunset photos right after dinner, so let’s do dinner at 5:15.
- Before dinner, we want to have a cocktail hour. Let’s do that at 4:15.
- Before cocktail hour, we’ll sign our marriage license, and that’ll only take a few minutes. We can sign our license at 4:00.
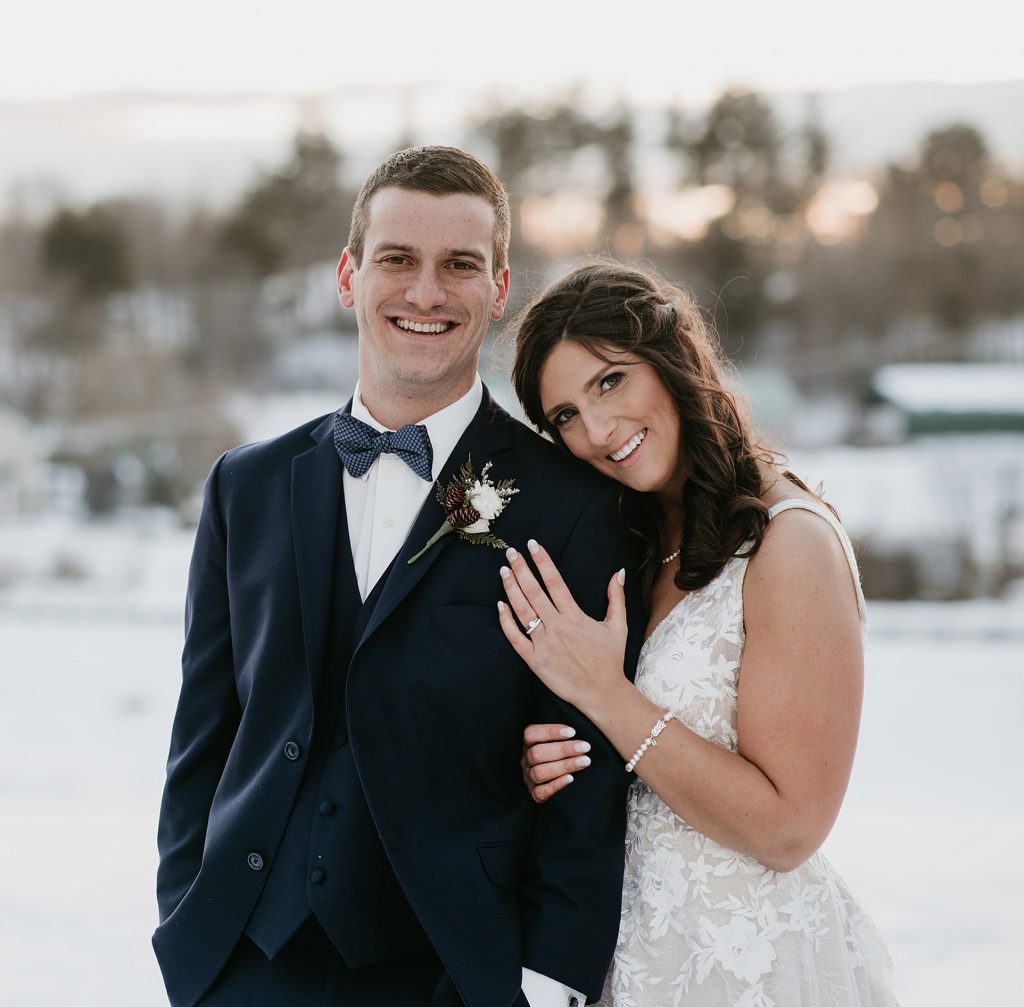
- Our ceremony will last around 20-30 minutes, so we can do the ceremony at 3:30.
- **I recommend having your ceremony 2-3 hours before sunset, depending on if you’re doing a first look or not!**
- We want to have a first look + get all of our family/wedding party photos done before our ceremony. Sam said family/wedding party photos will take about 1 hour, so we can start family photos at 2:20 and leave a few minutes before the ceremony.
- Let’s do our first look at 1:45 to give us time for some couples portraits + some breathing room.
- Sam told us we’ll need about 1 hour to cover getting ready + detail photos, so let’s have her start coverage at 12:45.
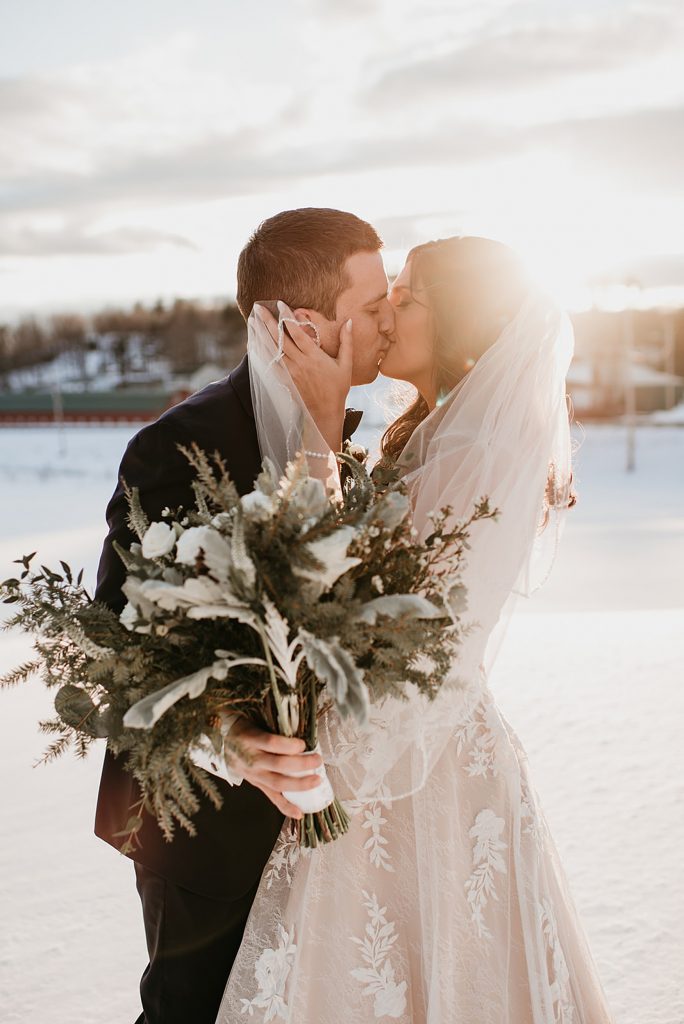
From there, once you’ve made it alllll the way to the beginning of the day, finish the timeline from sunset on, paying attention to however much photography coverage you have left.
- So far, we have Sam with us from 12:45-6:45. We have her for 8 hours total, so that leaves two hours for our reception with her.
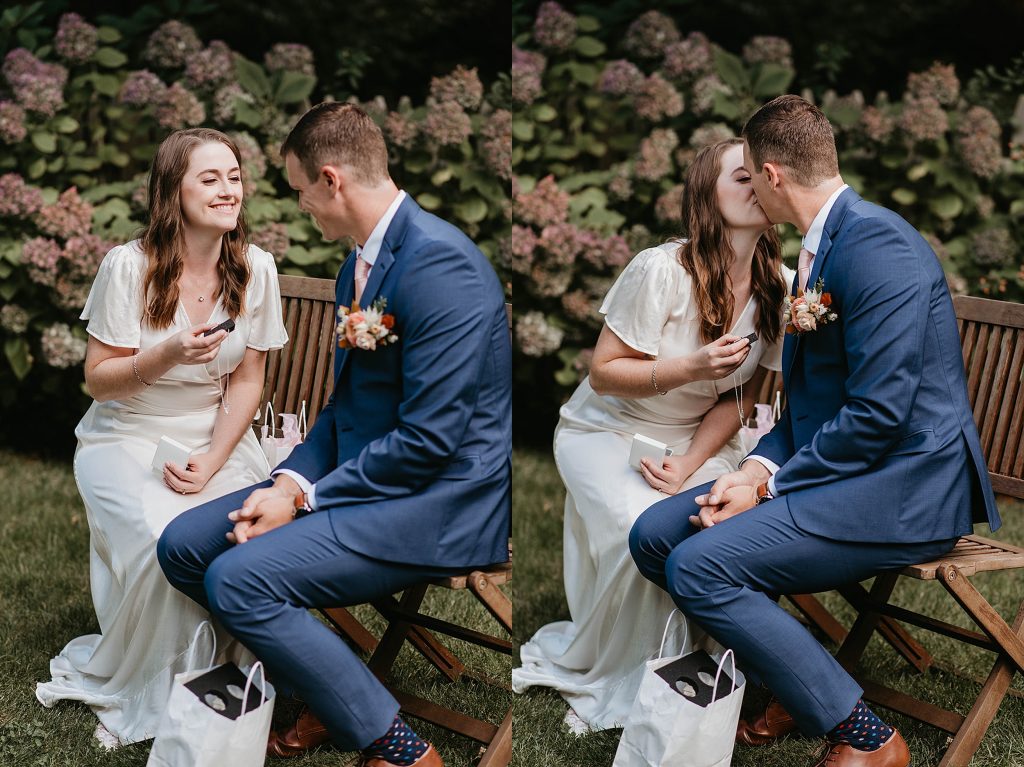
Add in times for whatever reception activities you’ll be doing – shoe game, bouquet/garter tosses, cake cutting, first dances, etc. Then, finish your timeline with a sendoff if you’re doing on!
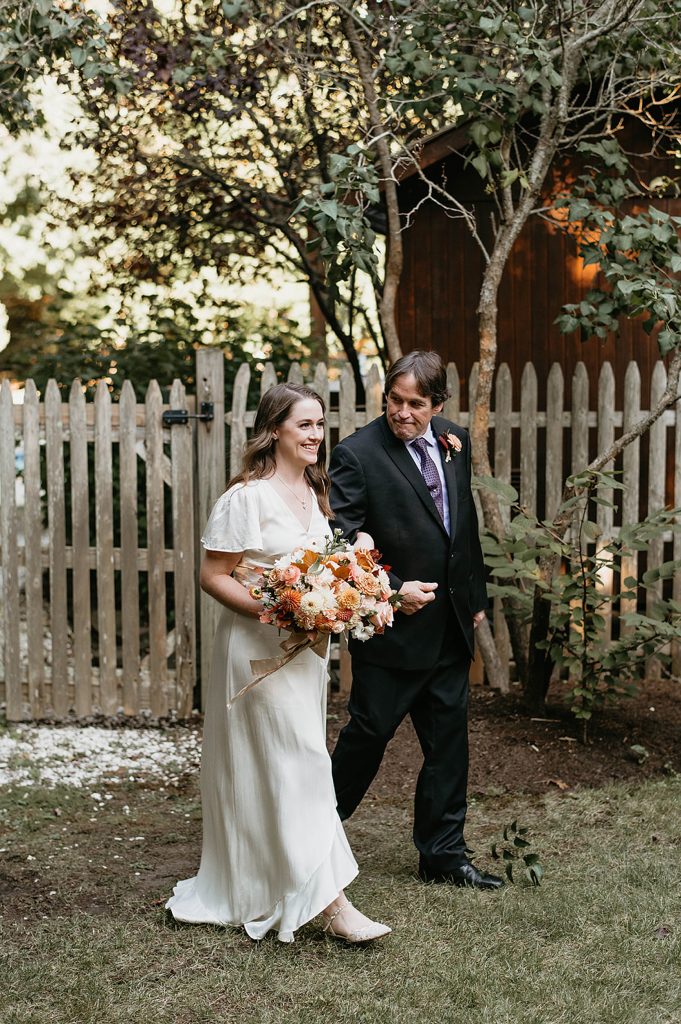
PRO TIP: For weddings in late October through April, consider an earlier ceremony start time to take advantage of the light since the sun sets earlier!
3. Do a first look
First looks are THE best for so many reasons. Besides getting to spend wayyy more time with your boo + having private time away from your guests, doing a first look also gives you more options as far as the layout of your day goes!
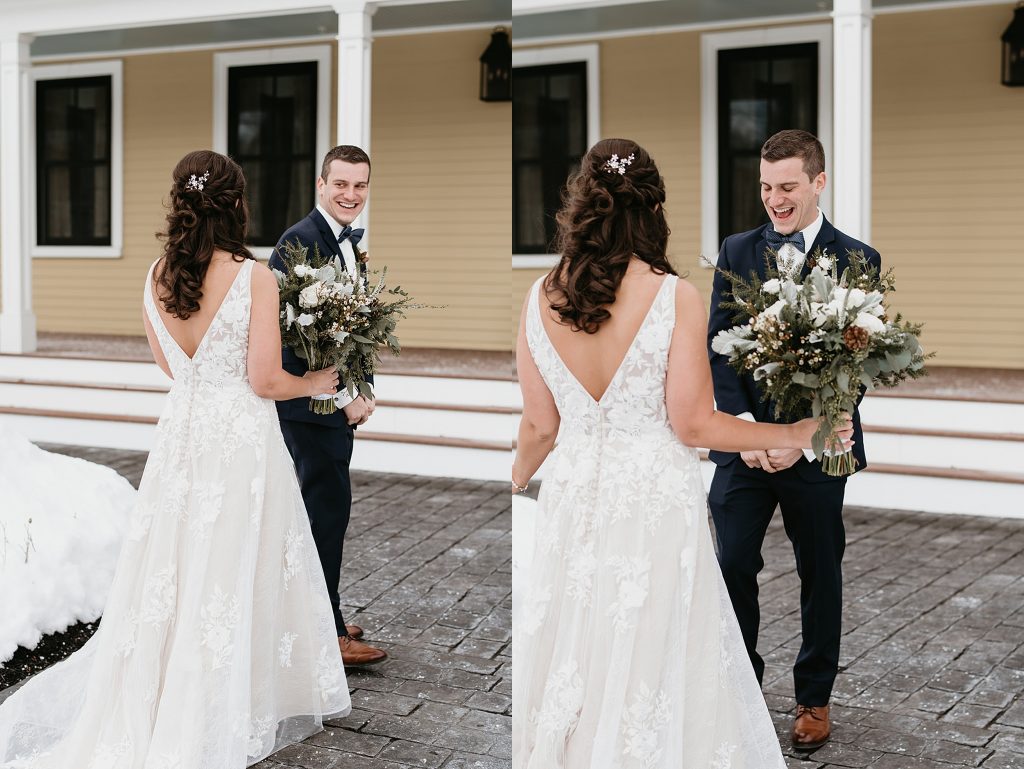
If you do a first look, you can get through photos earlier in the day – since you’ve seen each other, you can get your family & wedding party photos out of the way before the ceremony even starts.
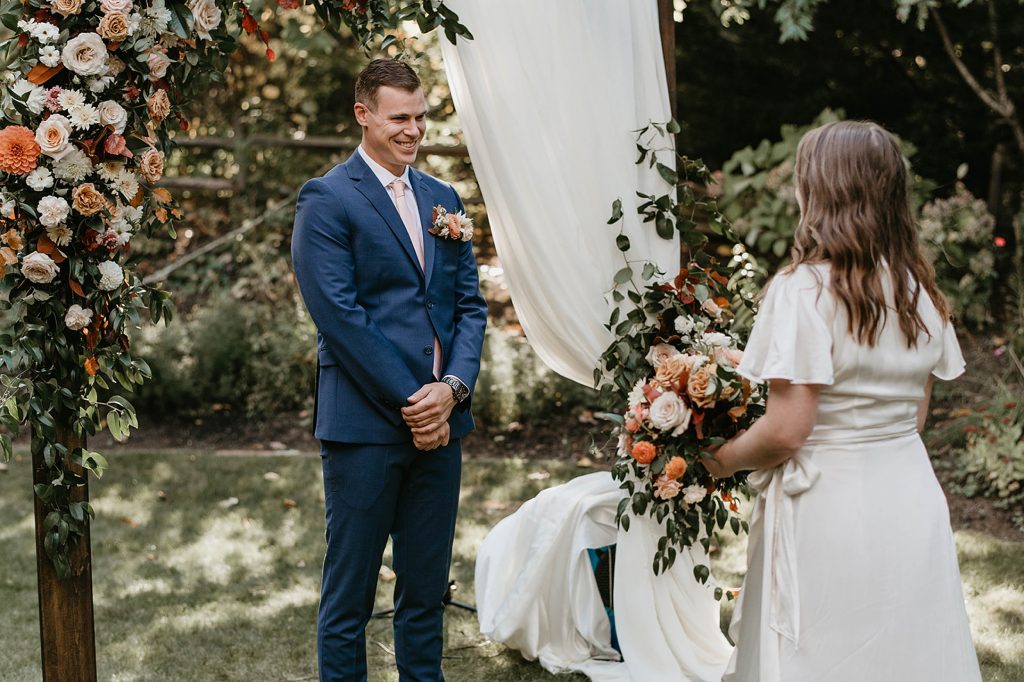
Then, after you do all the official stuff during your ceremony, you’re able to enjoy your cocktail hour, or have more time for couples portraits together since you’re done with the rest of your photos! It’s a win-win alllll around.
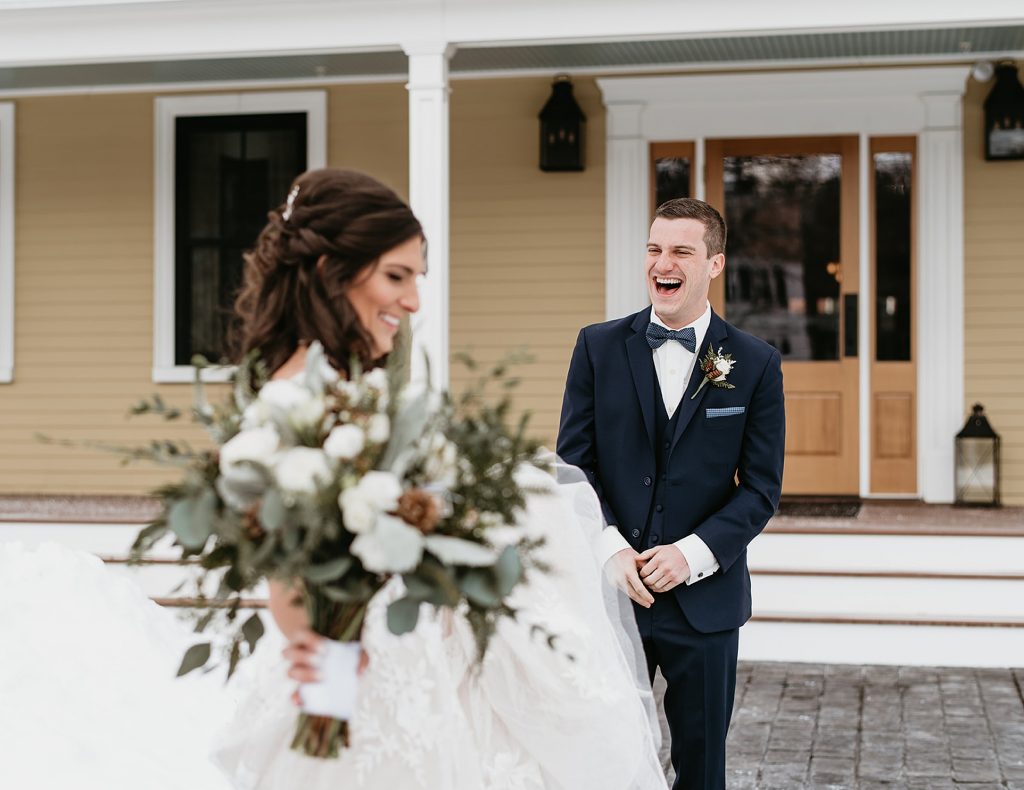
3. Build in extra buffer time
Finally, building in extra buffer time beforehand will SAVE you on the wedding day if (when) things run late. I promise you, it’s inevitable that something will run behind and you just can’t avoid it no matter how well you plan.
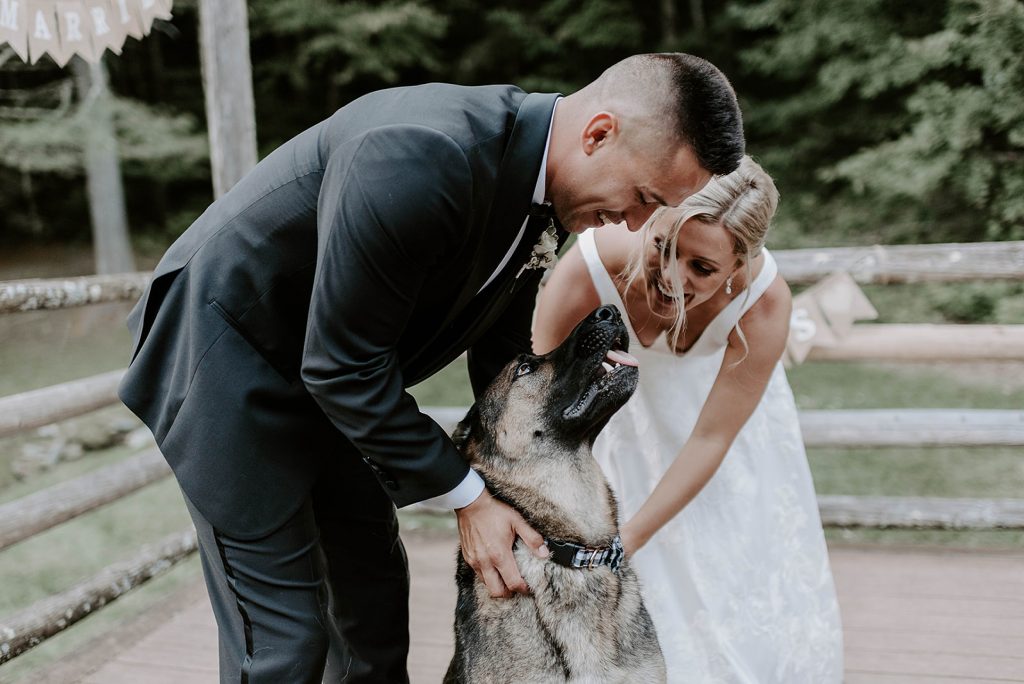
So to avoid any stress the day-of/worrying about what time it is, add 5-10 minutes in between every block of your day. Instead of having your first look from 1:00-1:30 and going straight into family photos at 1:31, start those fam photos at 1:40.
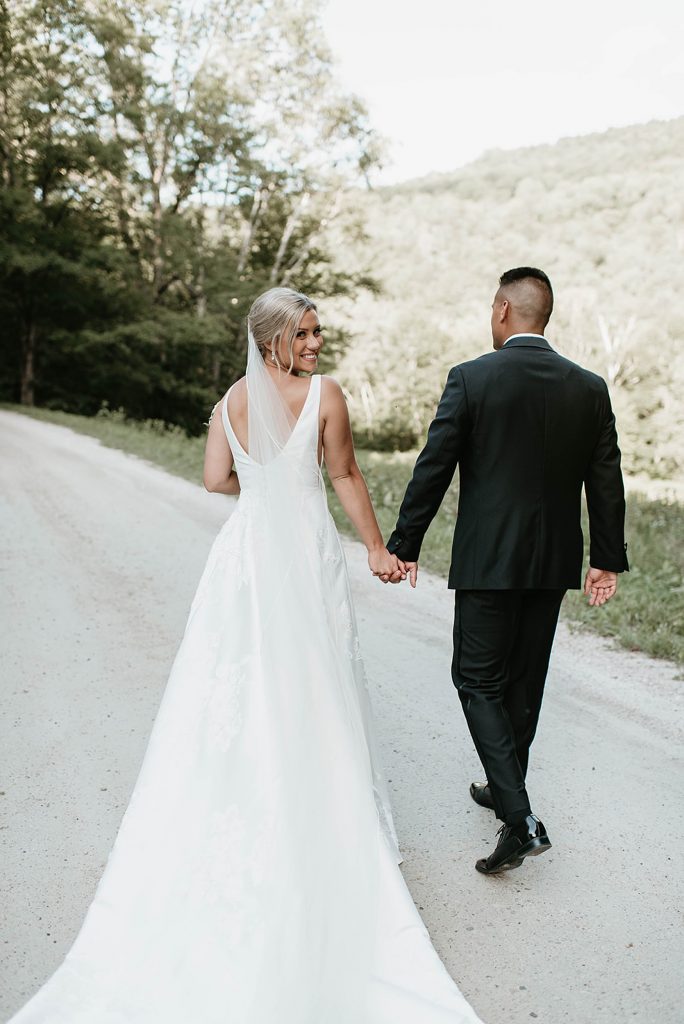
Build in that extra time and plan ahead for things to run late, and make sure to hire a day-of coordinator to keep you on track! Day-of coordinators = the best way to ensure a smooth day no matter what.
A Quick Wedding Day Timeline Example
I know it can be hard to actually create a timeline + visualize what it may look like, so I wanted to give you a wedding day timeline example! Your timeline is obviously going to be hugely dependent on a ton of things – first look/no first look, sunset time, what reception activities you have, how many guests, etc. But this will give you an idea of a starting point!
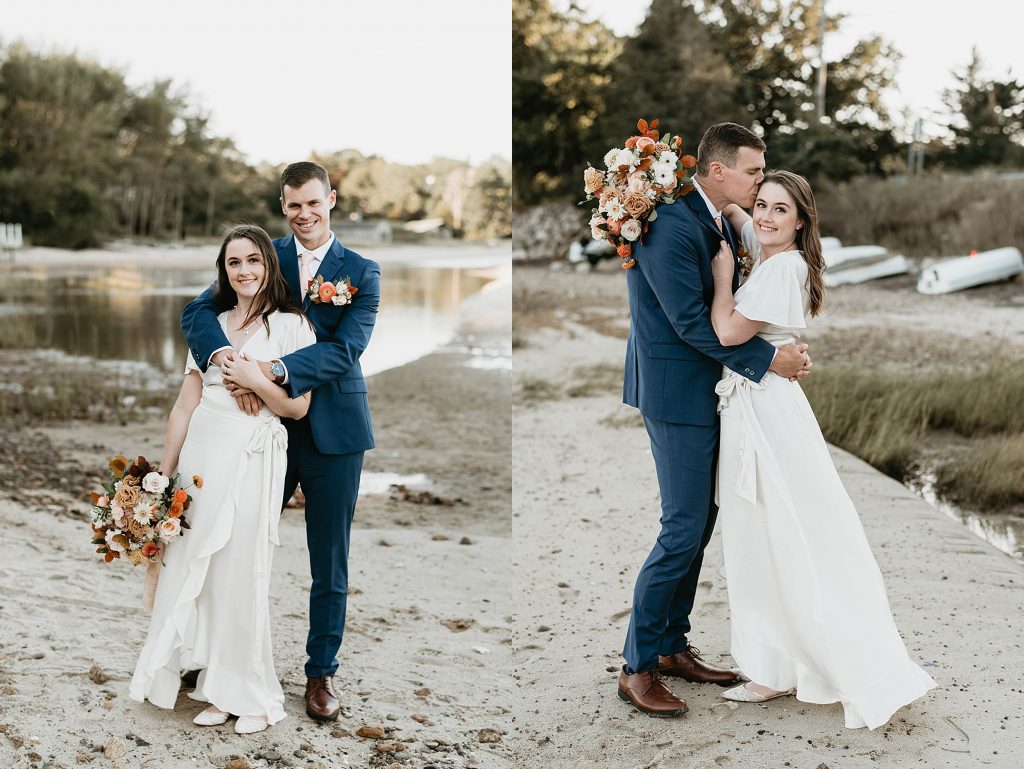
I’ll go off of the example I walked you through up above in tip #1. This is a wedding day with 8 hours of photography coverage from 12:45-8:45, with the ceremony starting at 3:30, and the sun setting at 7:15.
12:45-1:35 – Getting ready & detail photos
1:45-2:15 – First look & couples portraits
2:20-3:20 – Family & wedding party photos
3:30-4:00 – Ceremony
4:05 – Sign marriage license
4:15-5:05 – Cocktail hour
5:15-6:05 – Dinner
6:15-6:45 – Sunset portraits
6:50-7:05 – First dances
7:05-8:30 – Reception activities: cake cutting, games, tosses, dancing, etc.
8:40 – Sendoff
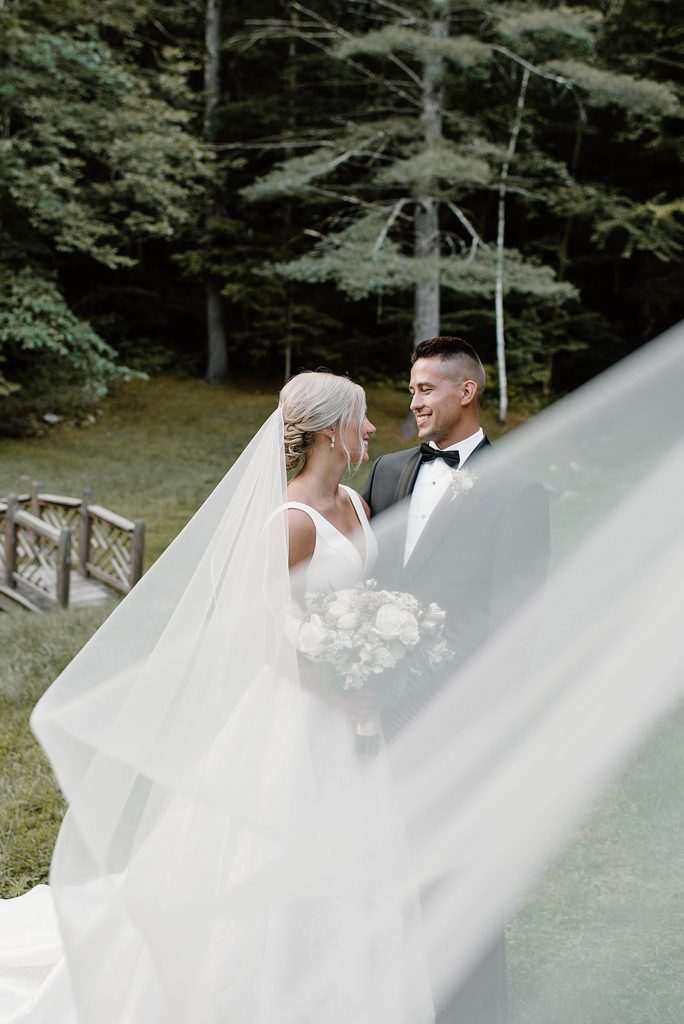
There ya have it, my top 3 wedding day timeline tips for a smooth day!
Remember:
- Work backward from sunset
- Do a first look
- Build in extra buffer time
Most importantly, hire a day-of wedding coordinator if you’re able to, because they will change the game & take care of everything for you!
Considering eloping instead? Check out this blog on why you should consider eloping! If you haven’t already check out my most recent work on my Instagram!
COMMENT BELOW